Step by Step Instructions on Compressing a Wav
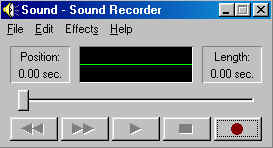
First open your Sound Recorder
1: Go to Start Programs Accessories Entertainment Sound Recorder

2: File open any wav
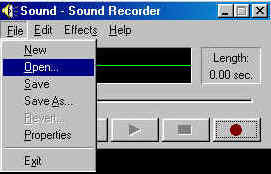
3: Now you have this Screen 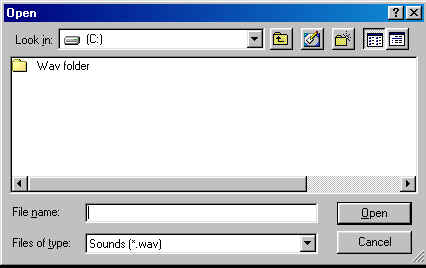
4: Choose your Wav Folder then select your Wav
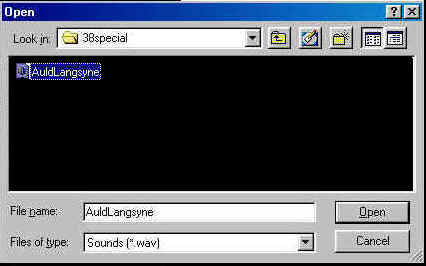
This is how it will look before compression
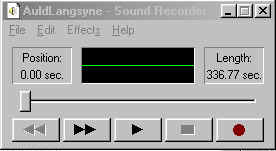
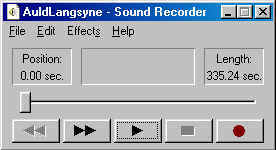
Now that we have the sound recorder open lets convert the wav.
6: Click on File Properties
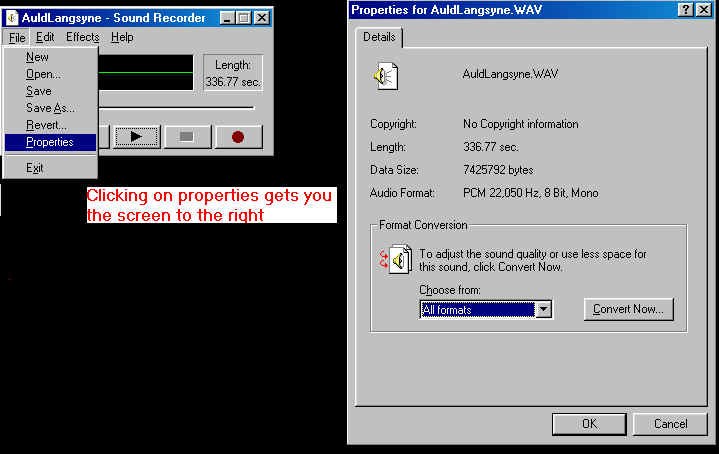
7: Click on Convert Now you get
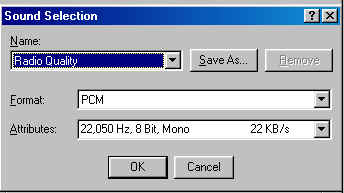 Now click on Format you get
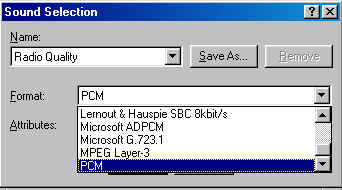 Highlight the Mpeg LAyer 3
then choose the Attribute you want (The ond we use is
![]() )
)
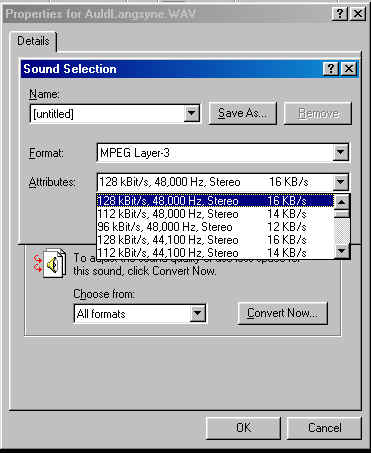 Then click ok
now you will have a screen that looks like this 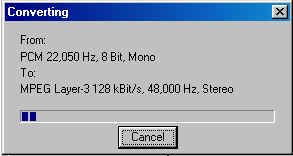 after it has completed the
conversion the next screen should look like this
 Then all you have to do is click on FILE and SAVE and
you have completed Compressing your Wav.
This is how to compress your wavs one at a time using Sound Recorder.
Courteousy of